


Create and Manage your Pool
A Node Key Pool enables multiple keys to be delegated to a single pool, managed by a media node operator. By creating and managing a pool, you can accept delegations from others and boost your earning potential through rewards and commissions.
Steps to Create a Node Key Pool
Follow these steps to create your Node Key Pool effectively:
- 1
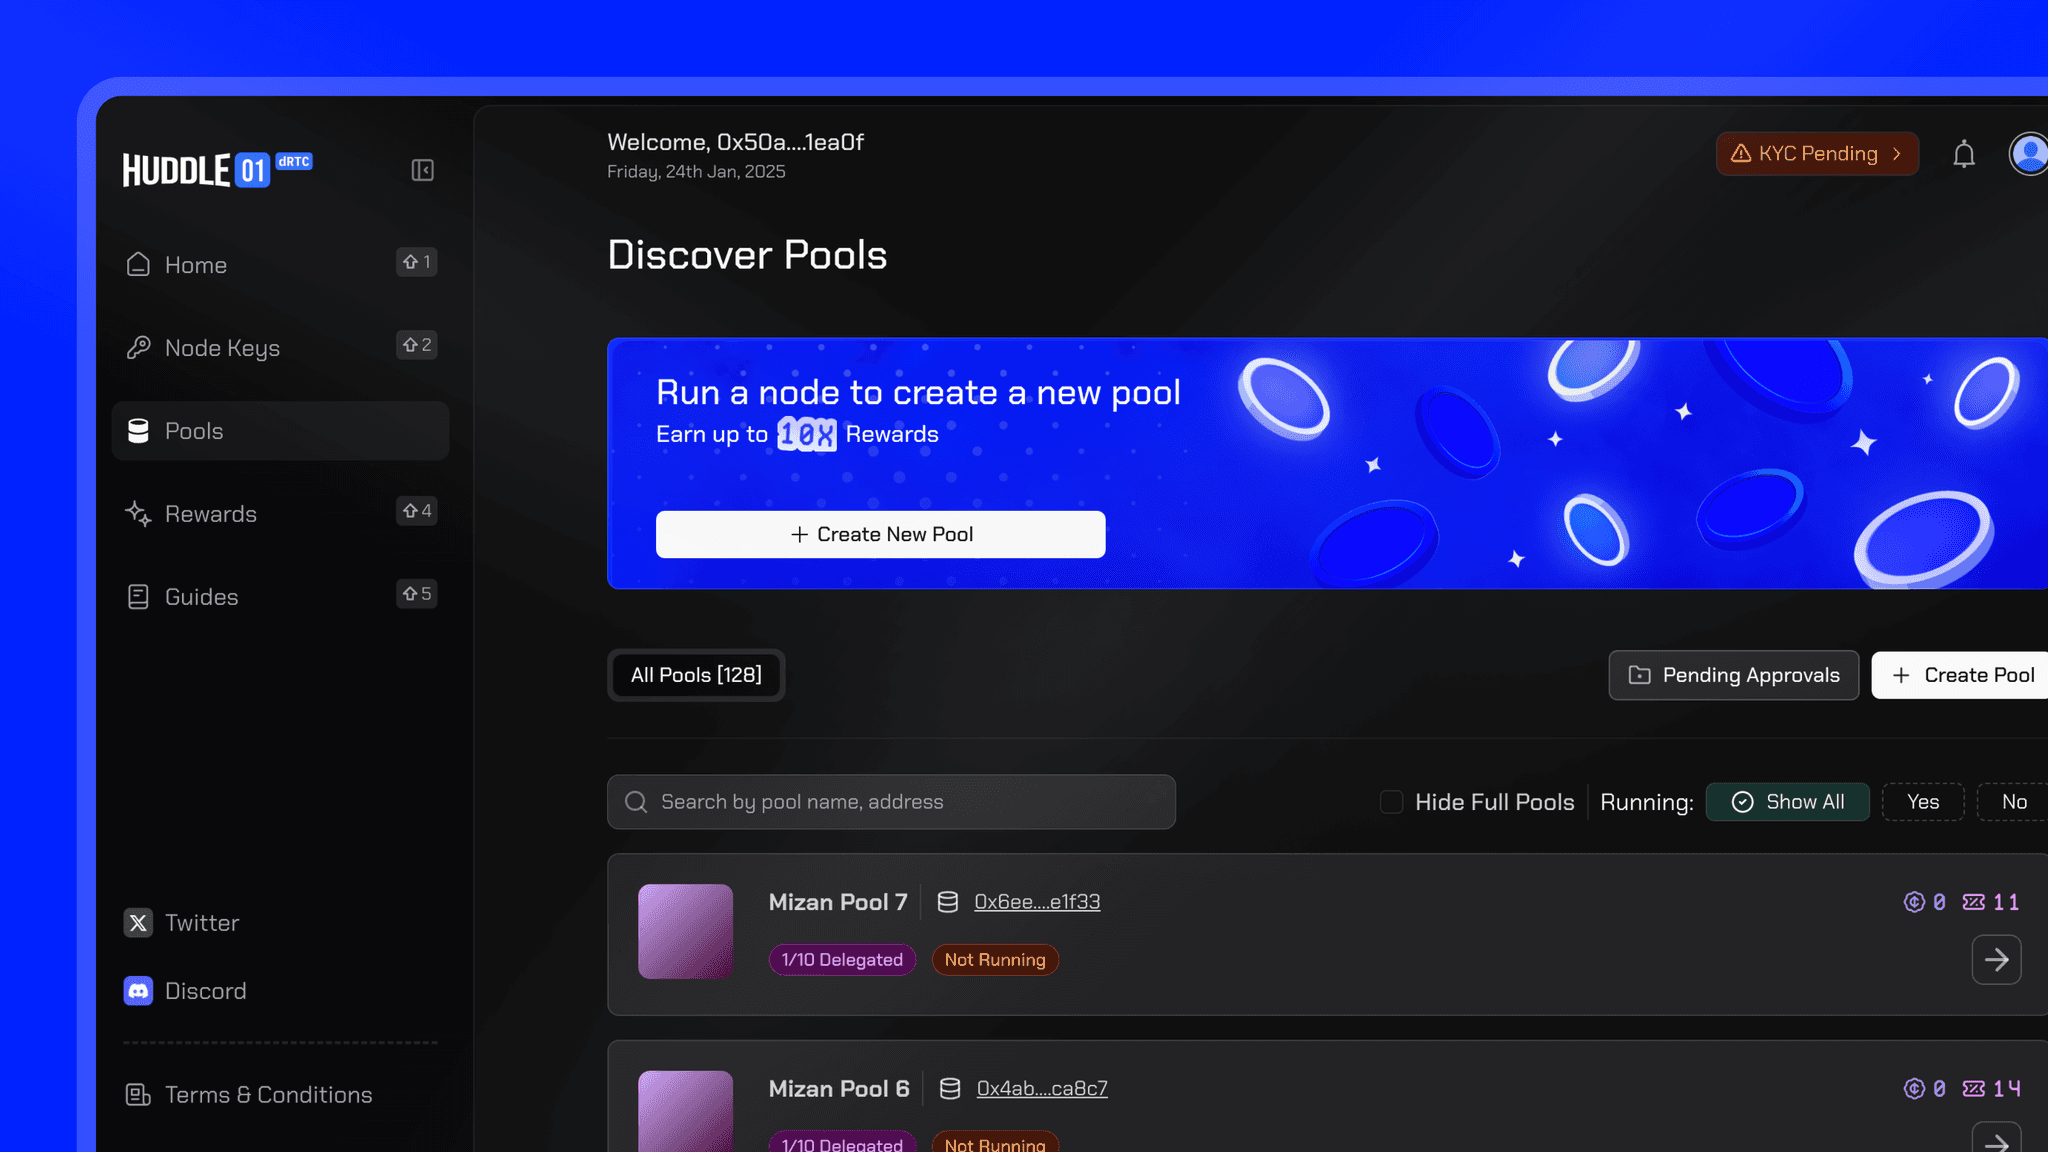
Access the Pool Section
Log in to your dashboard and navigate to the 'Pools' section and Click on Create Pool to begin the setup process
- 2
Define Pool Attributes
Upload a logo to ensure easy identification. Assign a unique and descriptive name to your pool.
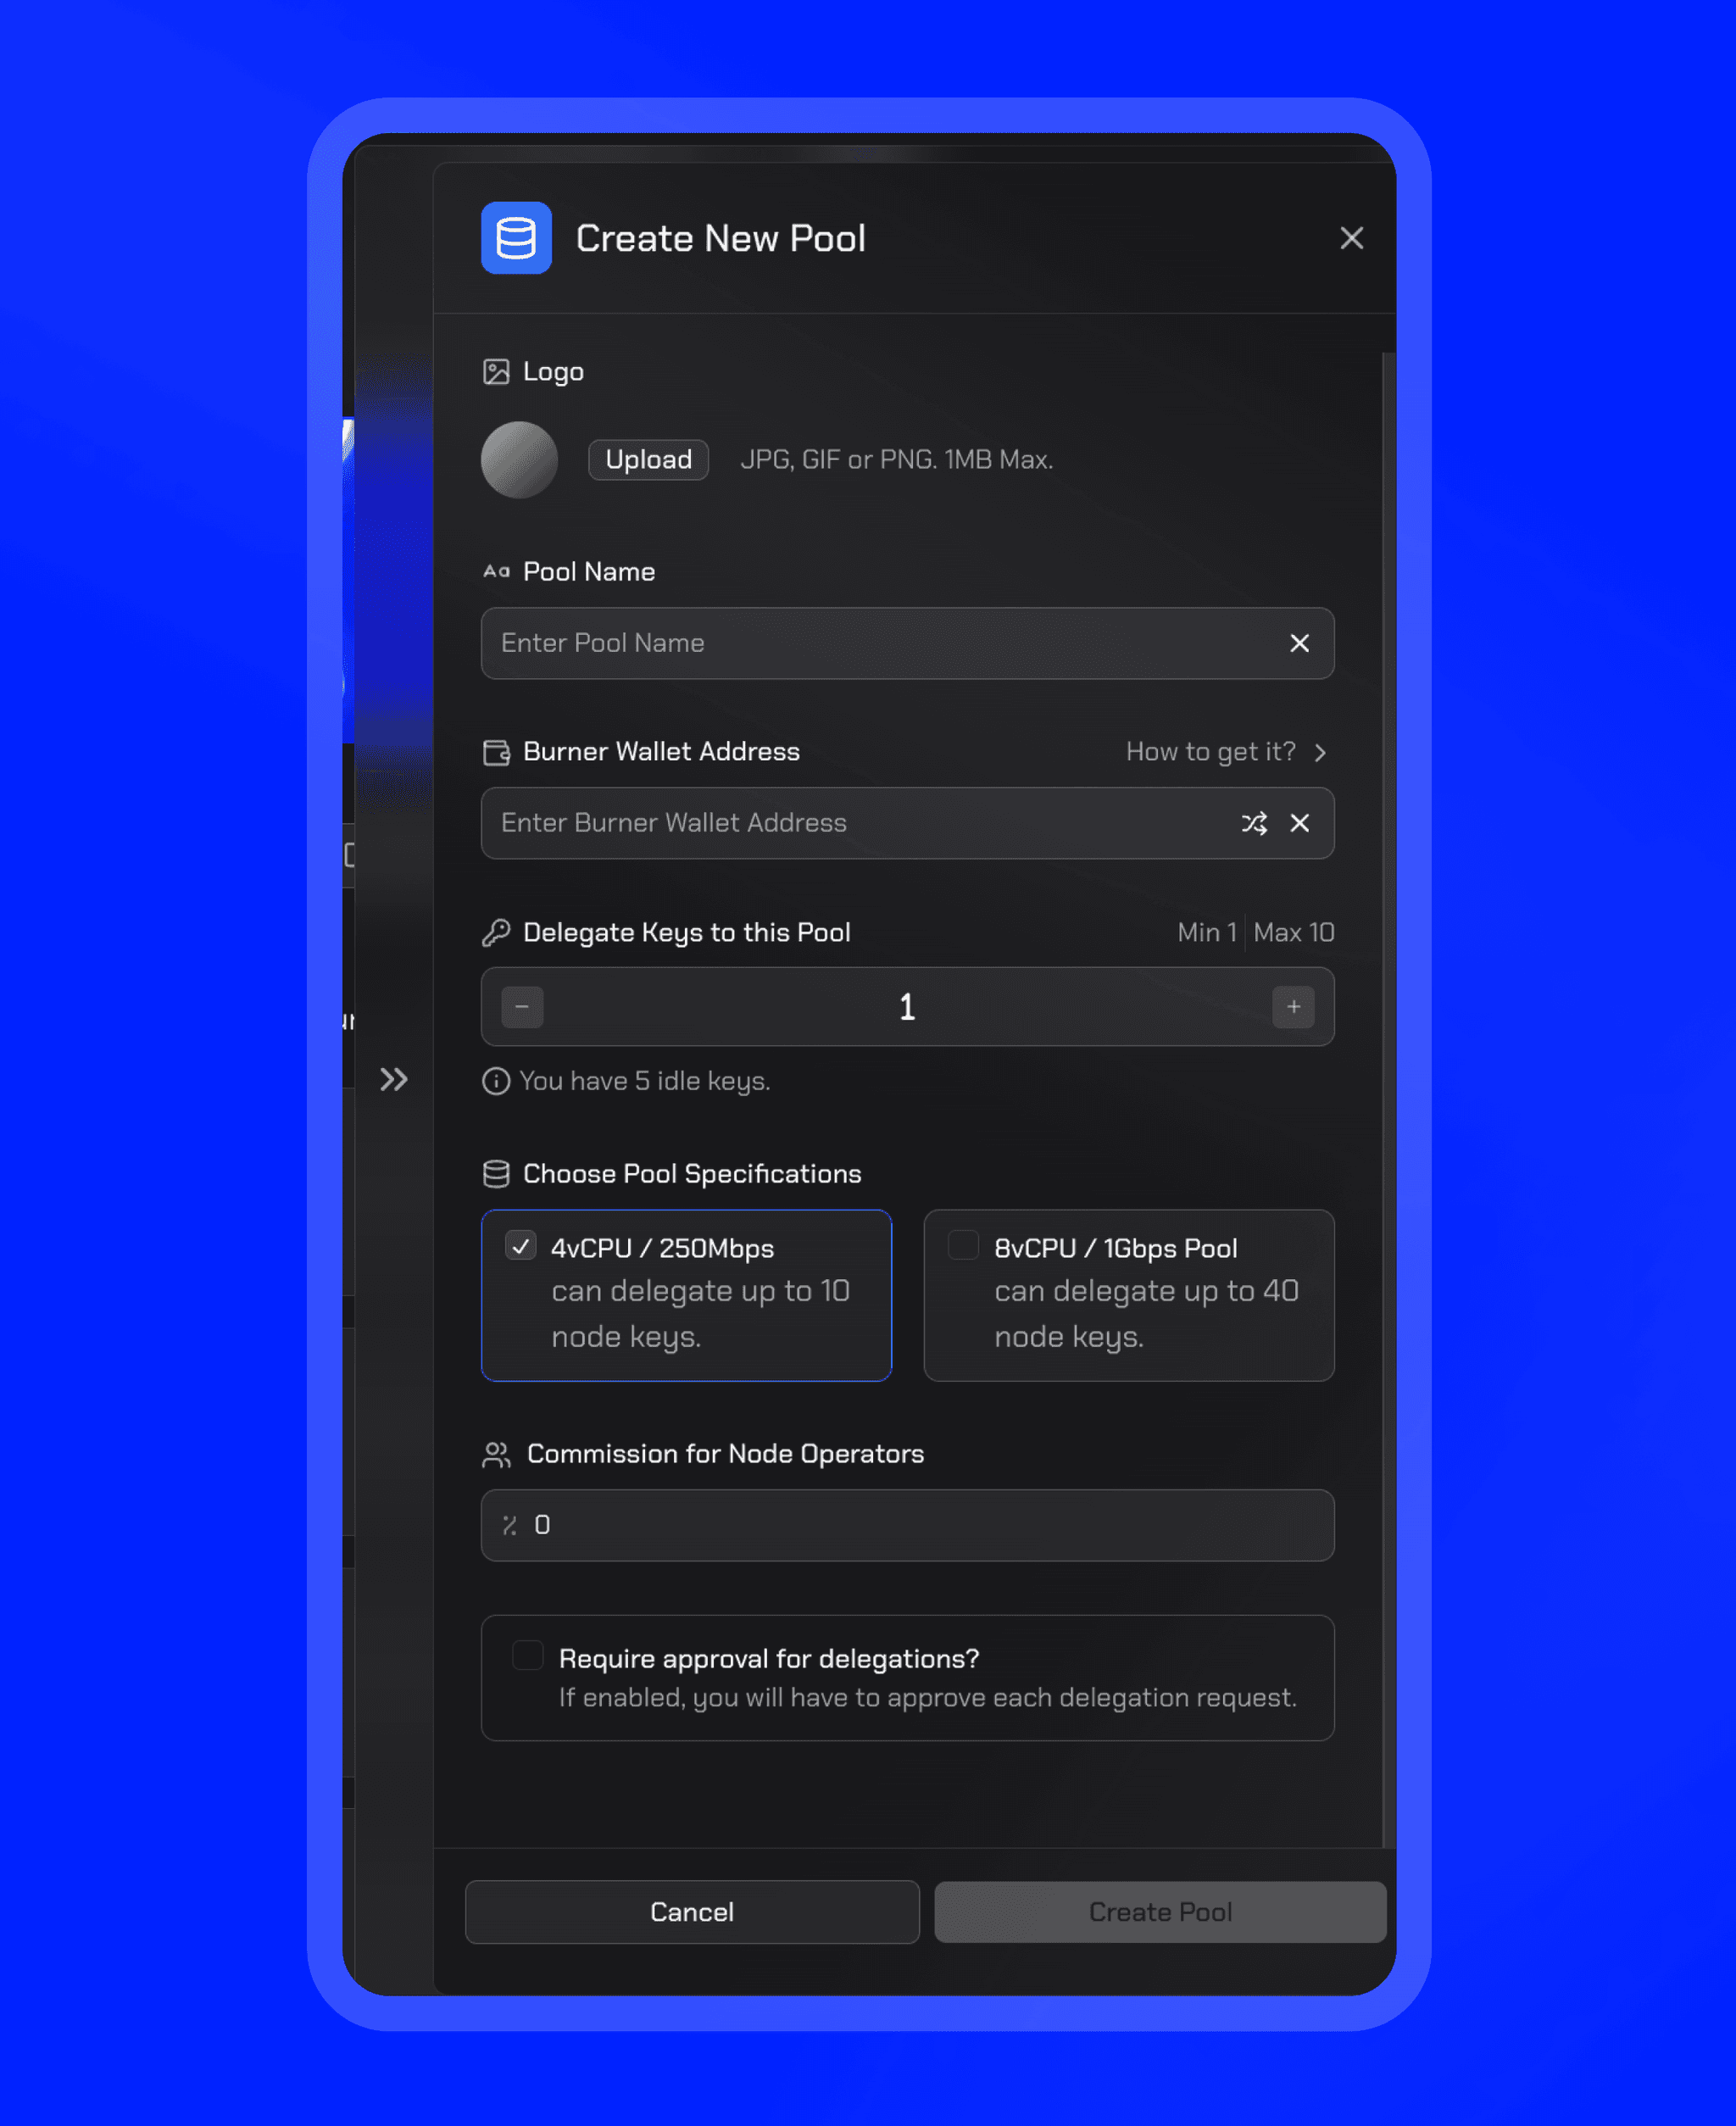
- Upload a logo and assign a unique name for your pool.
- Input the burner wallet address (Node address) linked to your media node.
- CLI Users: Refer to these steps for retrieving the address.
- NaaS Users: Follow this guide for obtaining the address from the provider.
- Specify the initial number of keys to delegate to your pool.
- Select Pool Specifications
- Specify a commission percentage (e.g., 5%). This rate determines the portion of delegator rewards allocated to you as the node operator.
- You can opt for manual approval of delegation requests by enabling the final checkbox
- 3
Finalise Pool Creation
Review the entered details and click Create Pool to activate your pool.

Managing Your Node Key Pool
Here is a two-step process to manage your Node Key Pool effectively:
- 1
Monitor Your Pools
Access your pools by navigating to the pools “Created by Me.”

- 2
Track Earnings
Navigate to the “Rewards” section to monitor the rewards generated from your delegated keys and commissions earned from running pools.


