


How to run a Media Node via CLI:
Before you get started with the installation process, ensure your system meets the following requirements.
The Huddle01 Media Nodes support both Linux and Mac (64-bit)
Hardware Requirements
| Minimum | Recommended |
|---|---|
| 4 CPU Cores | ≥8 CPU Cores |
| 4 GB RAM | ≥8 GB RAM |
| 32 GB Disk Space | 32 GB Disk Space |
| 250 Mbps Internet | ≥1 Gbps Internet |
Required Open Ports
| Protocol | Open Ports |
|---|---|
| TCP | 14000, 14001, 14002 |
| TCP + UDP | 14003, 14004, 14100 to 14100 + (2 × Number of cores) |
Example for an 8-core system:
- TCP: Open ports 14000, 14001, and 14002.
- TCP + UDP: Open ports 14003, 14004, and 14100 to 14116.
💡 Every node requires a public IPv4 address with the above-mentioned ports available to accept traffic to function.
💡 For simplicity, allowing all types of traffic, TCP and UDP, on these ports is recommended.
Installation
Follow the steps below to install the necessary tools and run your Media Node via CLI.
- 1
Install ffmpeg
Every Operating System has different ways of installing ffmpeg.
Follow the steps here to install: https://www.hostinger.in/tutorials/how-to-install-ffmpeg
To verify if
ffmpeghas successfully been installed, you can run the following command: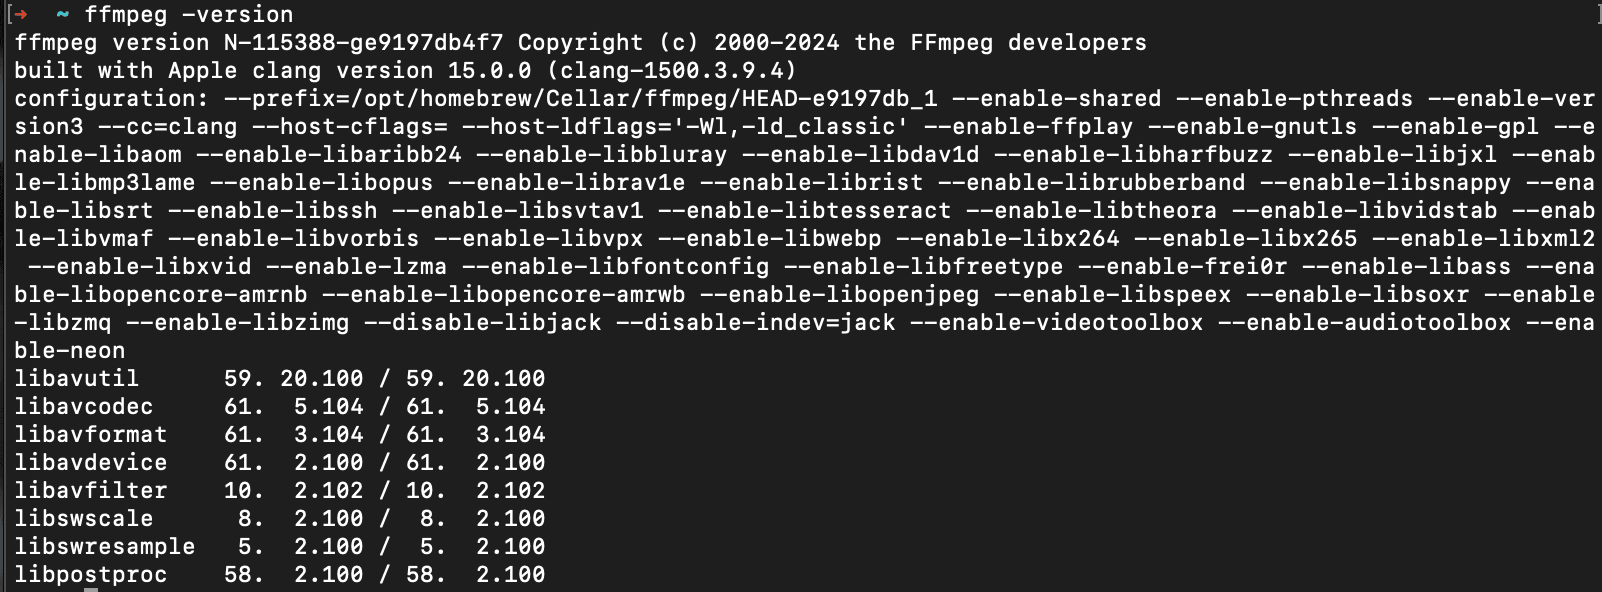
- 2
Download and Install the Media Node CLI
Use the following command to download and install the CLI.
If you're on Windows, you'll need to enter the WSL environment first before running the installation command:
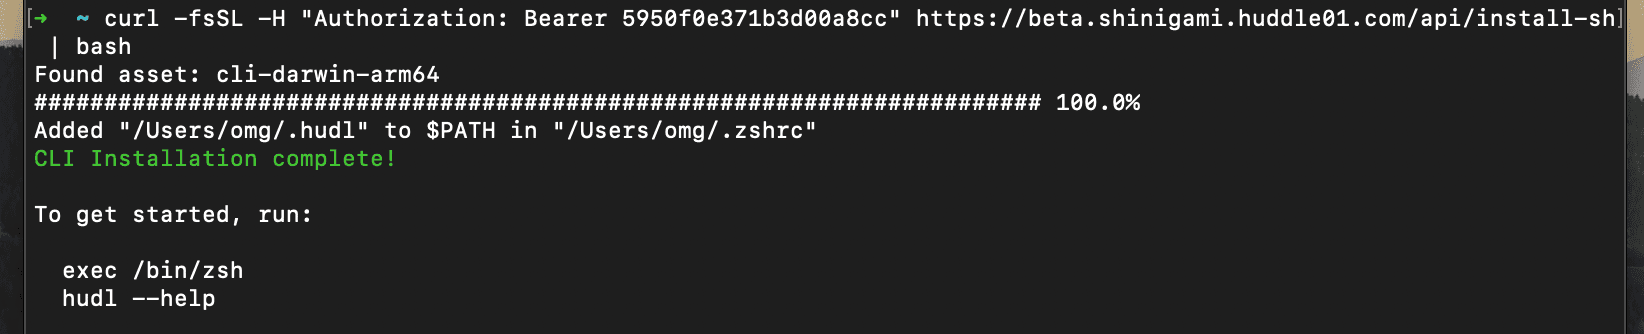
After installation, you can verify
hudlCLI is working fine by using the following command
Running the Media Node
- 1
Setting up a burner wallet
You can initialize a wallet for your Media Node directly using the CLI. This wallet will serve as a unique identifier for your node, allowing it to be recognized and tracked in the network.
Run the following command to initialise a Burner Wallet for your Media Node:

You can either bring your private key, or auto generate one in the CLI
- 2
Setting up a Pool
Once the burner wallet is initialised, you'll need to create what's called a “Media Node Pool” to start earning rewards. Your node won't generate any rewards until this pool is created.
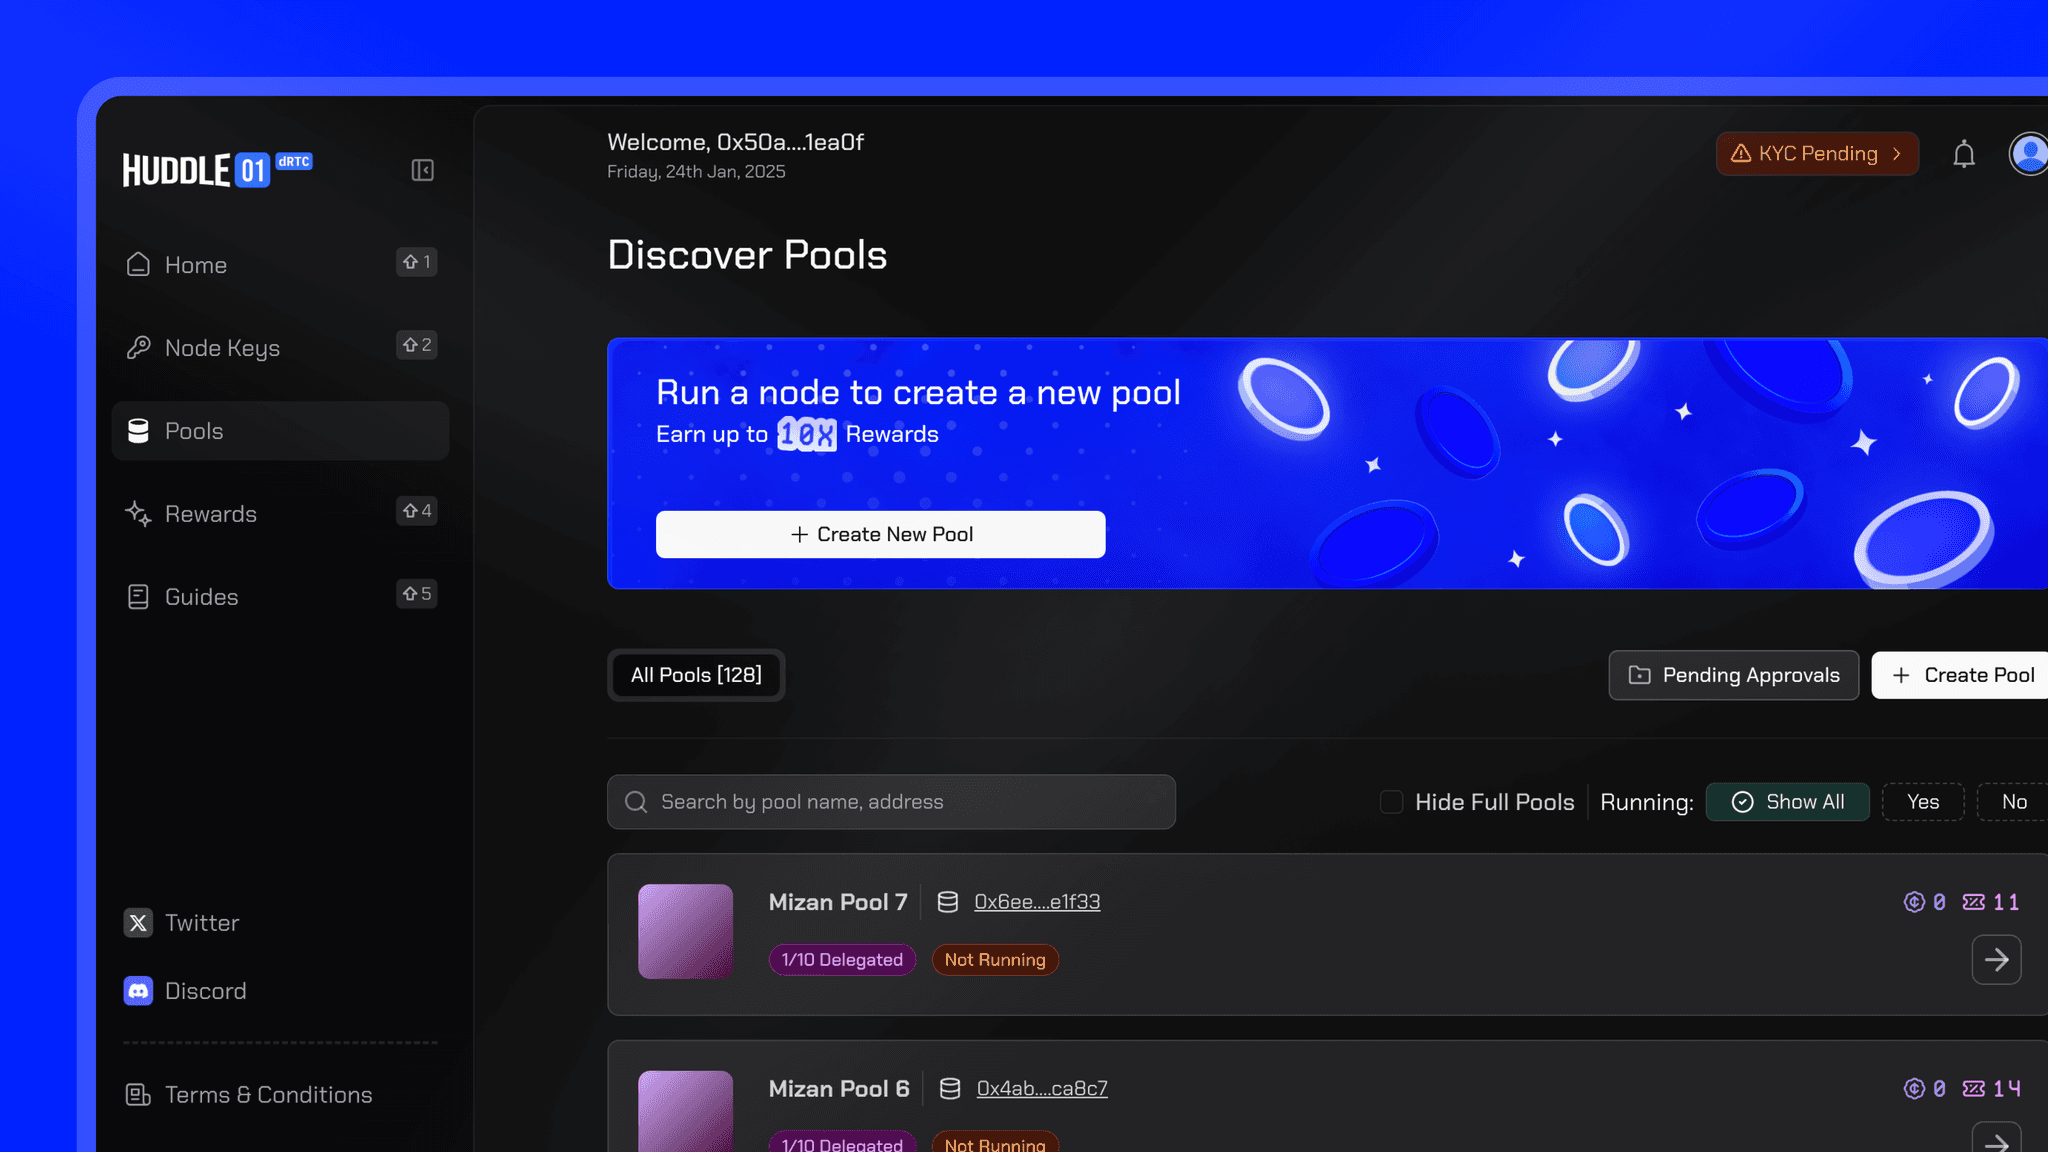
To create a new pool, navigate to the Pools section and Click on Create Pool to begin the setup process.
Here’s a detailed guide explaining how you can create a pool and attach it to your Media Node: Create and Manage your Pool
- 3
Start the Media Node
Once you have set up the Pool, you are now ready to run the media node.
Run the following command to start the Media Node using your private key:


